Guide
The Seven Stages of Clay, Explained by a Potter
Slip, plastic, leather-hard, bone-dry, bisque, glazed, vitrified — what each stage of clay actually feels like, what you can do at each one, and where beginners lose pieces.
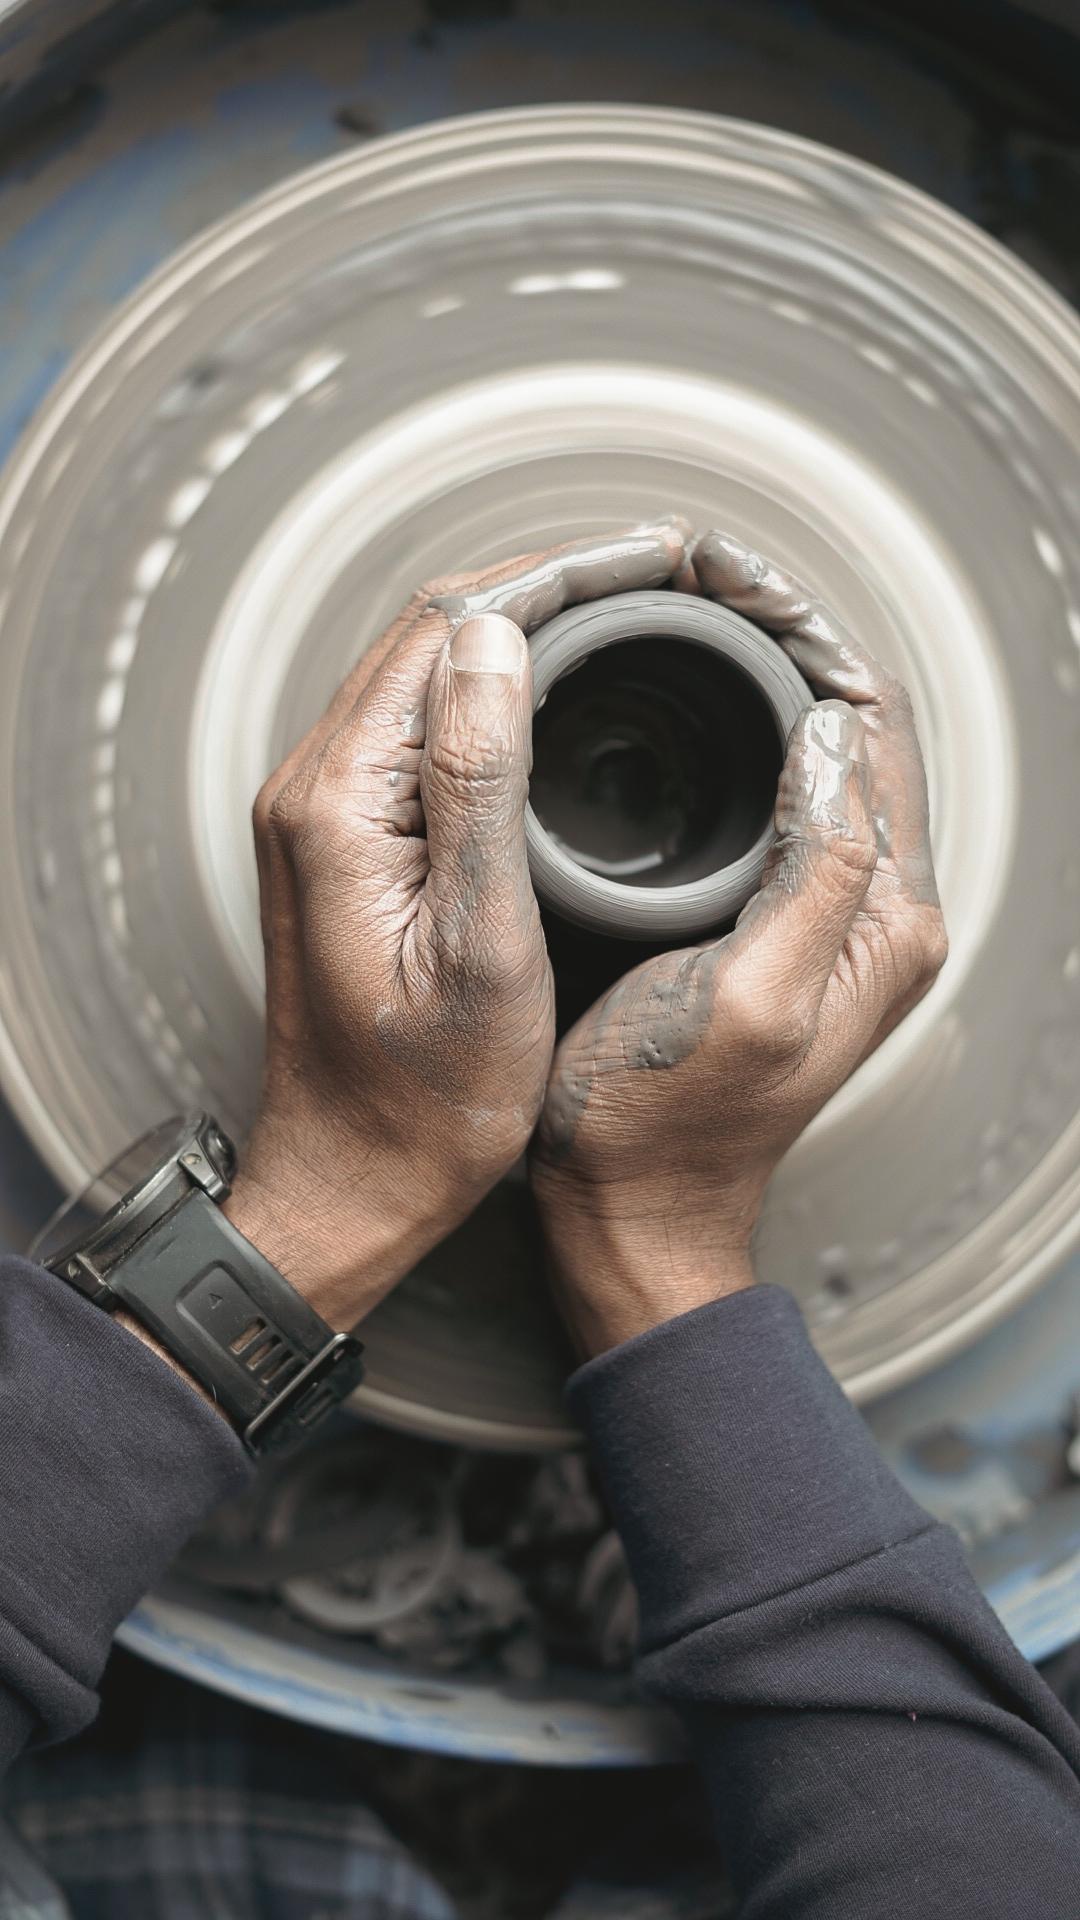
Clay does not go from wet to finished. It passes through a sequence of distinct states, and each one allows exactly one set of things and forbids the rest. Join a handle at the wrong stage and it will crack off three weeks later in the kiln.
Potters learn this by ruining things. Here is the whole sequence, what each stage feels like in the hand, and what you can and cannot do at each.
1. Dry clay
Raw powdered clay before water. You are unlikely to meet it in a workshop, but it explains everything that follows: clay is a mineral, and what makes it plastic is water sitting between microscopic plate-shaped particles, letting them slide over one another without separating.
Every stage below is a description of how much of that water is left.
2. Slip
Clay with enough water to pour — the consistency of thick cream.
Slip is used as glue. Score two surfaces you want to join, brush slip between them, press together. It is also used decoratively, poured or trailed over a form.
What it teaches beginners: joins fail when people skip this. Pressing wet clay onto wet clay looks like it has worked and comes apart in drying.
3. Plastic
The stage everyone pictures. Holds a shape, bends without tearing, takes a fingerprint.
This is throwing clay and hand-building clay. Everything is possible here and nothing is permanent — you can squash a failed cylinder back into a ball and start again, which is the single most freeing fact in a first session.
How it should feel: firm, like cold butter. If it sticks to your hands and sags, it is too wet. If it cracks at the edges as you bend it, too dry.
4. Leather-hard
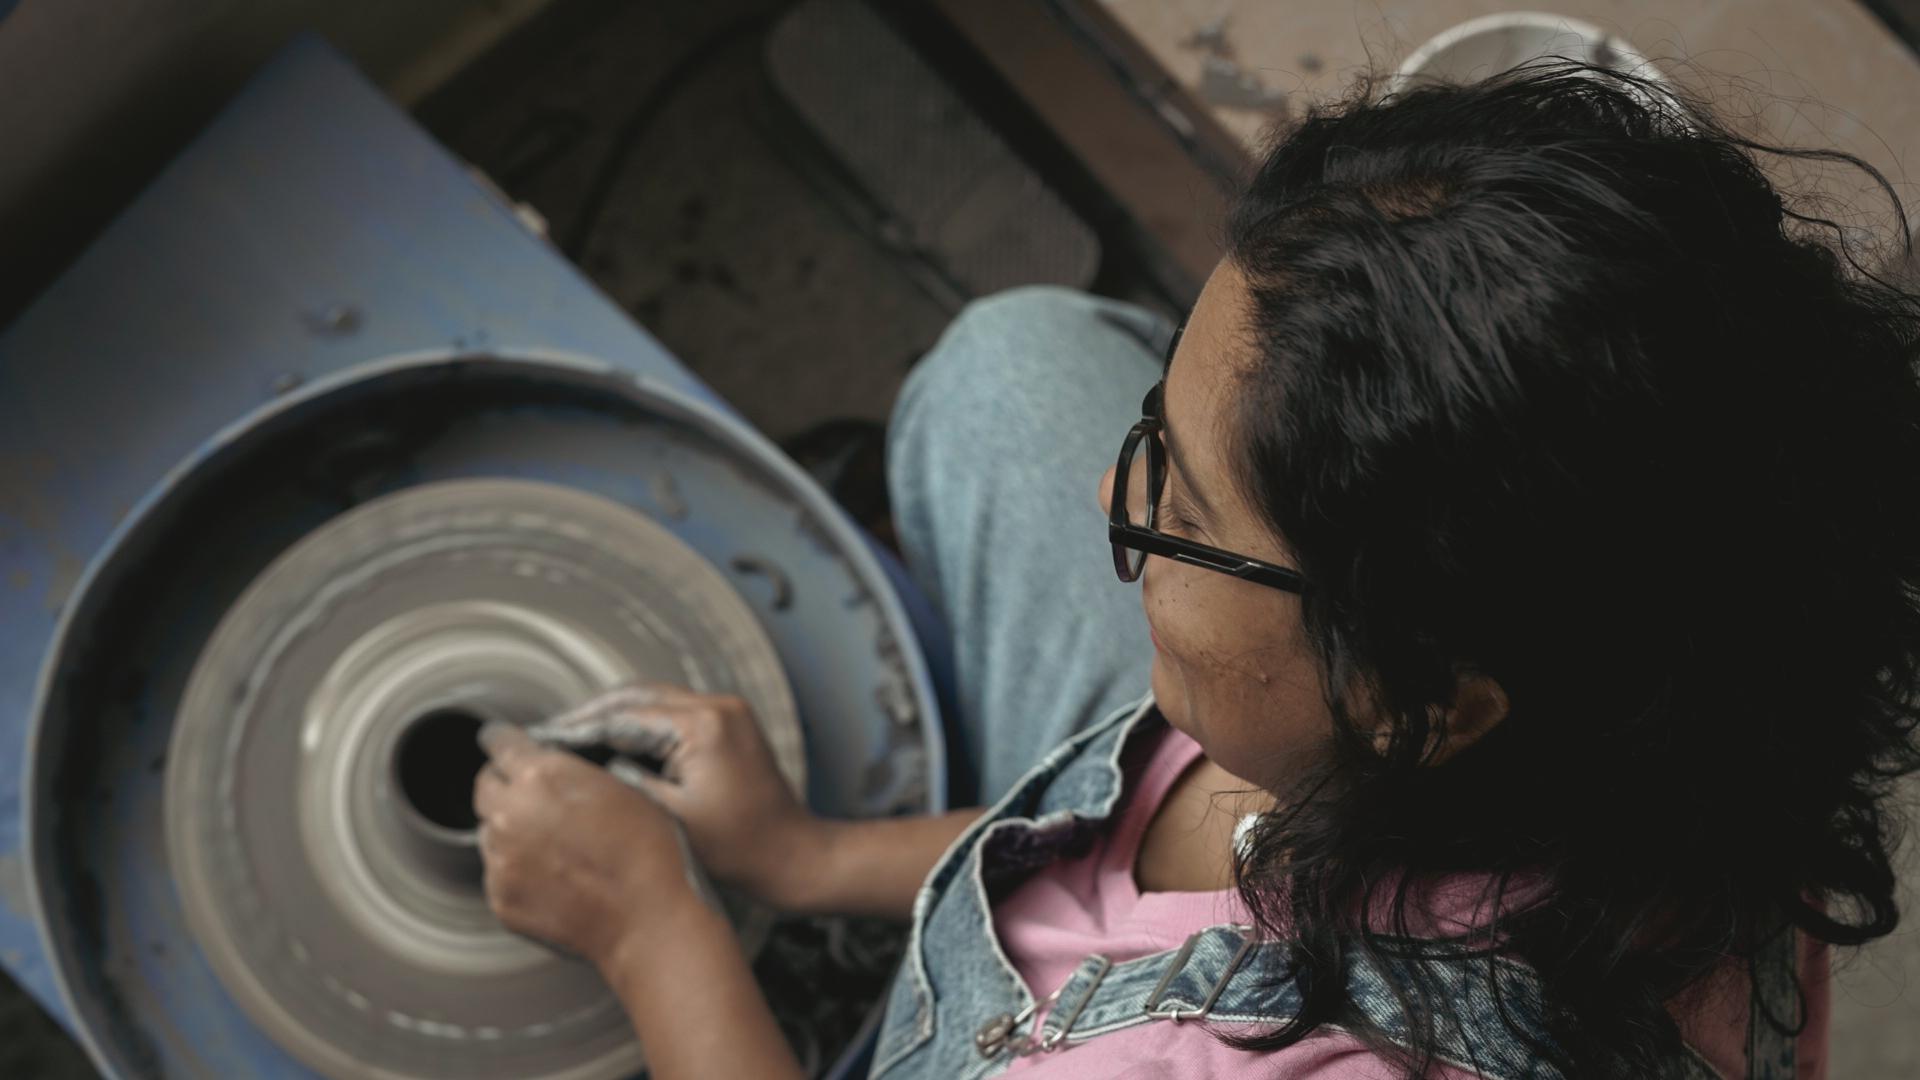
Firm as a hard cheese. Cool to the touch. It holds its own weight completely, but a fingernail still marks it.
This is the working stage most beginners never hear about, and it is where a piece actually becomes good:
- Trimming. Cutting away excess from the base to reveal a foot.
- Joining handles. Score and slip, at this stage, not earlier.
- Carving and stamping. The surface takes a crisp line now.
- Burnishing. Rubbing the surface smooth with a stone.
Miss the window and the clay moves on without you. This is why studios ask you to come back rather than finishing everything in one sitting.
5. Bone-dry
All the water that will leave at room temperature has gone. The clay is pale, chalky, room-temperature, and extremely fragile — more so than at any other point in its life.
You can still sand it. You can no longer add to it, carve it deeply, or join anything: there is no water left to make a bond.
Where pieces die. Most breakages happen here, from handling, and from uneven drying — a thick base attached to thin walls dries at different rates and pulls itself apart. This is why a first pot with wildly uneven walls sometimes does not survive, and why studios cannot promise every piece comes back.
6. Bisque
The first firing, usually around 900–1000°C. The chemically bound water is driven out and the change becomes irreversible: bisque cannot be returned to clay by adding water, ever.
The result is hard, porous and pale. Porous is the point — it drinks glaze, which is what makes glazing possible at all.
If you have done a Sip & Paint session, this is the stage of the piece you painted: already bisque-fired, so it was stable enough to decorate and take home the same day.
7. Glaze-fired
The second firing, hotter — typically 1200°C and above for stoneware. The glaze melts into glass and fuses to the body, and the clay itself vitrifies: it becomes non-porous, food-safe, and will now outlive everyone reading this.
Fired clay is one of the most durable things humans make. It is why we know what we know about civilisations that left nothing else behind.
Why your mug takes three to six weeks
Reading the list back, the wait stops looking like slowness and starts looking like arithmetic. Drying to bone-dry takes one to two weeks depending on thickness and weather. Then a bisque firing, a cooling, glazing, a second firing, another cooling — and kilns are fired in full loads, not one pot at a time, so your piece waits for company.
Nobody can shorten this. Any studio that promises a kiln-fired piece the same day is describing a different process.
What this means for a first session
Two practical conclusions.
Choose your format by what stage you want to work at. If the appeal is the material moving under your hands, you want plastic clay: hand-building or the wheel. If it is decoration and colour, and you are travelling, painting a bisque-fired piece gets you there in an hour with no wait.
Do not over-thin your walls. Almost every beginner does, chasing an even shape, and it is thin uneven walls that fail at bone-dry and in the kiln. Thicker and honest survives.
We have written the longer version of what a first hand-building session involves in what to expect in a beginner workshop, and the hand-building guide covers the techniques themselves.
Come and feel the difference
Reading about leather-hard is not the same as putting a thumb into it. Sessions at the studio are small — six people, four at the wheel — and you will handle clay at three of these stages in a single afternoon.
See what we run, or message us on WhatsApp with a question about any of the above. We like this conversation.
Keep exploring
Book a session
Tell us the dates you are around and we will confirm a slot — or just message +91 88796 54294 and ask us anything first.